I am so excited to reveal a mega-transformation of the
vintage vanity!
Quick recap: I picked it up from someone's curb -- in the bulk trash pile!! It was in bad, bad shape, but I saw the potential of beauty. After all, it was in pretty good structural condition.
My husband, Joseph, wasn't convinced at first. He told me to give it a good look once we got it home, to make sure we didn't need to put it right back in our bulk trash pile!
But after a little sanding... and taking off a lot of veneer, it was a blank slate.
I started by adding a little wood decor to the top drawer, since once I peeled off the old veneer there wasn't much detail left.
And then it was time to put some color on this bad boy! I primed it with KILZ spray paint primer - super easy. Great coverage and fast-drying.
Then, I had a tough time picking out a color -- I mean, do you know how many shades of white there are? So I searched some of favorite blogs and went with the advice from a furniture project from
Before Meets After. I went with Glidden's Muslin White. I found this blog on Pinterest and love it - a lot of great furniture transformed into treasures!
So back to the vanity. Once it was painted white it looked amazing! Totally transformed!
But it still needed more work.
The top was bowed from previous water damage. It was worse on the left side.
I really didn't want to replace the top - I just didn't want to start tearing this piece apart. So I tried some wood glue and I needed some muscle. I grabbed a 55 pound weight to help hold it down.
Now, for the fun part! Ok, it's all been fun, but I was really excited about the glaze. I debated between using a metallic silver glaze or a black antique glaze. I went with the silver and loved it!
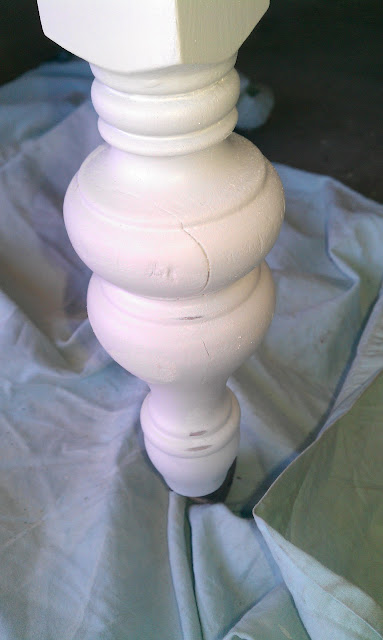 |
| Before the glaze |
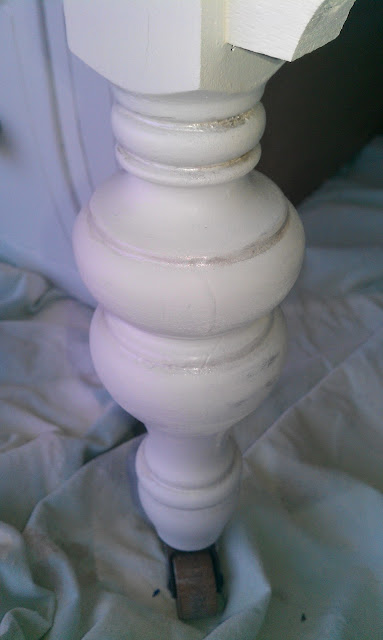 |
| After some glazing |
This piece has come such a long way. Here's a look at the stages of the drawer:
You noticed, one of the drawers is missing. It was a perfect opening for a basket to give it some more color and style.
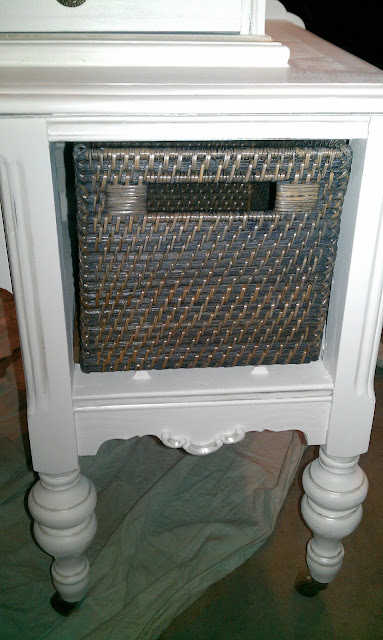 |
| I bought 5 baskets before I found one that fit! Thanks, Target! |
But I did need need to do something to cover two pieces of metal that would have held the drawer in place.
So I got some help from my husband to put a board on the bottom that would serve two purposes: cover the metal and raise the basket a little bit to make it fit better.
Once he cut the board, he used the table saw to cut a ridge that fit nicely over the metal pieces.
Then we glued it in place and voila! A cute little basket fits right in place.
So here's what the final product looks like!
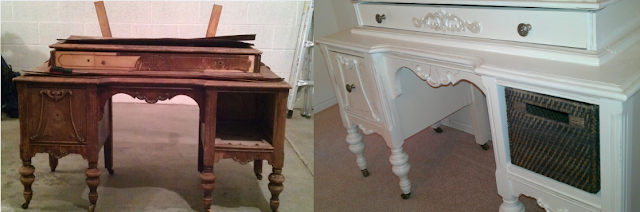 |
| Before & After |
I just love how the silver glaze accents the details ever so slightly.
This has been my favorite project yet! And the clue I found inside makes me think it's at least
50 years old.