A virtual chalkboard for my projects, doodles and fun!
Showing posts with label Crafty. Show all posts

Sunday, August 19, 2012

Handmade Book Shelf

When I started this blog a few months ago, it was because I was inspired to do some new projects and document the before... middle... and after of my random projects.

I've done a couple of big projects that I just adore.  Like my 'new' chairs and dining table and my favorite, the vintage vanity transformation.

But during a break in my projects (it's still well over 100 and I just cannot bring myself to work out in the garage in these conditions), I've realized my husband and I have done a few blog-worthy projects that are on topic with the projects I love to write about here.

I told you about the checkerboard cutting boards we made one year as Christmas gifts. My husband Joseph gets all the credit on those. I was just his lovely assistant.


There's another project we did together.  Joseph used the power tools and table saw and did all the measurements. I helped hold things while he glued or nailed and then I got to paint it.

I'm talking about this giant bookshelf in our office.


When we moved into our first home, we didn't have a lot of furniture. A book shelf was something Joseph thought he could handle making at home. It turned out great! It's solid wood and put together very nicely.

Joseph used a router to make grooves in the sides, and then glued the shelves into them.

I love how the crown molding turned out. It really finishes off the piece.


We didn't take any photos as Joseph was building it, but recently, we took out all the books to do some dusting and reorganizing (don't worry, we only do this once every 4 years... that's a lot of books to move!).


And no sooner did we get it in the office, we had it filled up.  Joseph is the reader in the family. I contributed with books from college ranging from journalism materials, literature and meteorology text books.


My shelves :)
This piece is solid wood and very sturdy. It stands about 6.5 feet tall and is 3 feet wide. Joseph made the bottom shelf the largest to fit textbooks.

As you can see form the pictures, he may need to make another one to fit the books he's bought since building this shelf.

What's your favorite piece of handmade or solid wood furniture?

Sunday, July 1, 2012

Room for more at the table

I've been slowly adding chairs to my new dining room table.

It's been quite the process, but after the major transformation of the first 2 chairs I found, I knew the remaining chairs had to be easier. The first two had been painted so there was a lot of stripping, scraping and sanding involved.

I found these two chairs at an estate sale a few months ago, and finally recovered them.


So I took my time looking for the next two chairs. I found these online at an estate sale and when I went to check them out, the price was right and they looked great.


Before


All I needed to do is recover the seats.


After

So after finding the table at Goodwill, and mis-matched chairs at various places, here's the breakdown of the cost of the dining room transformation.


Table: $40
Blue chairs: $12
2 Estate sale chairs: $15
2 more Estate sale chairs: $30


Furniture cost: $97!! Add the fabric and new foam for the seats and I call this a deal of a transformation! And it was a lot of fun! A little fabric goes a long way to make mis-matched chairs go together!  (The buffet in the picture was also a deal, just $35 at a garage sale.)

Here's the before and after of the dining room!
Before
After

Sunday, June 10, 2012

White kitchen table set repainted

My husband says I can see the best in people. Little did he know that I also have the gift to see the best in furniture!

Maybe I love a challenge or maybe I'm just too cheap to buy furniture to refinish... but I found another piece... on someone's curb.


I couldn't help myself! After the amazing transformation of the vintage vanity, I was up for another mega transformation - literally taking trash and making it nice enough to put back inside.


This poor table set probably had a nice time in someone's kitchen, but that was many moons ago, before, I'm certain, it must have lived in the garage or even outside in its last days with its former owners.


Then I come along... with my husband and truck... and see the sparkle it once had.

Ok, I'm being a little dramatic! It was still sturdy and I thought if I could just chip off enough of that old paint I could have it looking nice again.

So I sanded... and scraped... but wasn't going to work myself to the bone to take ALL of the paint off. I thought I'd experiment with this piece to see if a good primer and spray paint could do the trick.

I made sure all of the loose paint was off and began priming and painting.

I had the first chair painted the next day! I was so excited to make such quick progress. But there were 2 more chairs... a table top... and that gorgeous pedestal.


So over about 2 more weekends I got the project painted.  You could still see where some of the old paint was underneath the new coat of paint, I think it adds some nice character and texture and shabby shic-ness to it.  It has a very nice farm house, warm feel.


After a few coats of paint I put several coats of clear gloss to seal it so it's ready to handle the wear and tear of a kitchen table.


Hubby helped me stage the table :)


So now what do I do with a table set? We already have a kitchen and dining set. So this is the first time I will really be trying to sell a piece. I had intentions of selling the vintage vanity but I became attached to it and adore it in my guest room.

I also thought it would be interesting to go back to the houses where I picked these pieces off the curb and show them how they look now. I'm still not sure though that they would appreciate that. Haha! So for now, this beauty is looking for a new home.

Before and after pics:


Sunday, June 3, 2012

Sassy blue end table bargain

My house is filled with end tables, but only one like the table I'm about to reveal today.

I just love night stands and end tables, especially older ones with character.

I found this little end table at a thrift store. It's simple with a little bit of detail, but I knew I could kick it up a notch with a new coat of paint and I did it all for $20 - table included!


But which color? I knew I was going bold!


Here in sunny Phoenix we get 300 days of nothing but blue skies. So as a tribute to that beautiful blue, I went with a sky blue!

It was a simple project.  I just primed it with a spray paint primer.


And then put on 2 coats of blue.


And now it's a cute little end table with some attitude.


I love the shade of aqua and teal. It's a great splash of color to brighten any room!


And the project only cost me $20 and an afternoon of my time.  The table was $12 at a local thrift store. I bought a can of primer and only used one can of the aqua color, each was under $4 a bottle. Voila, a $20 project that instantly added personality to the room.


Saturday, May 26, 2012

A Trio of new projects: Chair, end table, kitchen dining set

I'm baaack!

The last month has flown by, but I've been so busy with who knows what that I haven't had time to exercise my  creativity with a good furniture transformation.  But I'm back in business with a couple of inspiring pieces and some cooler weather for the moment to get a head start.

I am really drawn to chairs and end tables. I think a stand alone chair or a unique end table can really interject a lot of personality and style into a room.

Over the past few weeks I've picked up some pieces with the potential to be that stand alone item.


I love the shape of this chair and most of all, the carved detail.

You can't really see here, but this chair is broken around the seat and missing a support piece on the bottom. But look at that detail! Simple elegance. I've got to get this one structurally fixed before I can make it pretty.

Warning: Bold color transformation in progress!


I've had this end table for a couple weeks now, just finally getting around to doing something with it.  I forgot to take a true "before" picture. After I sanded it and roughed it up, I remembered to take a shot!

I also have another project that's a little bigger...


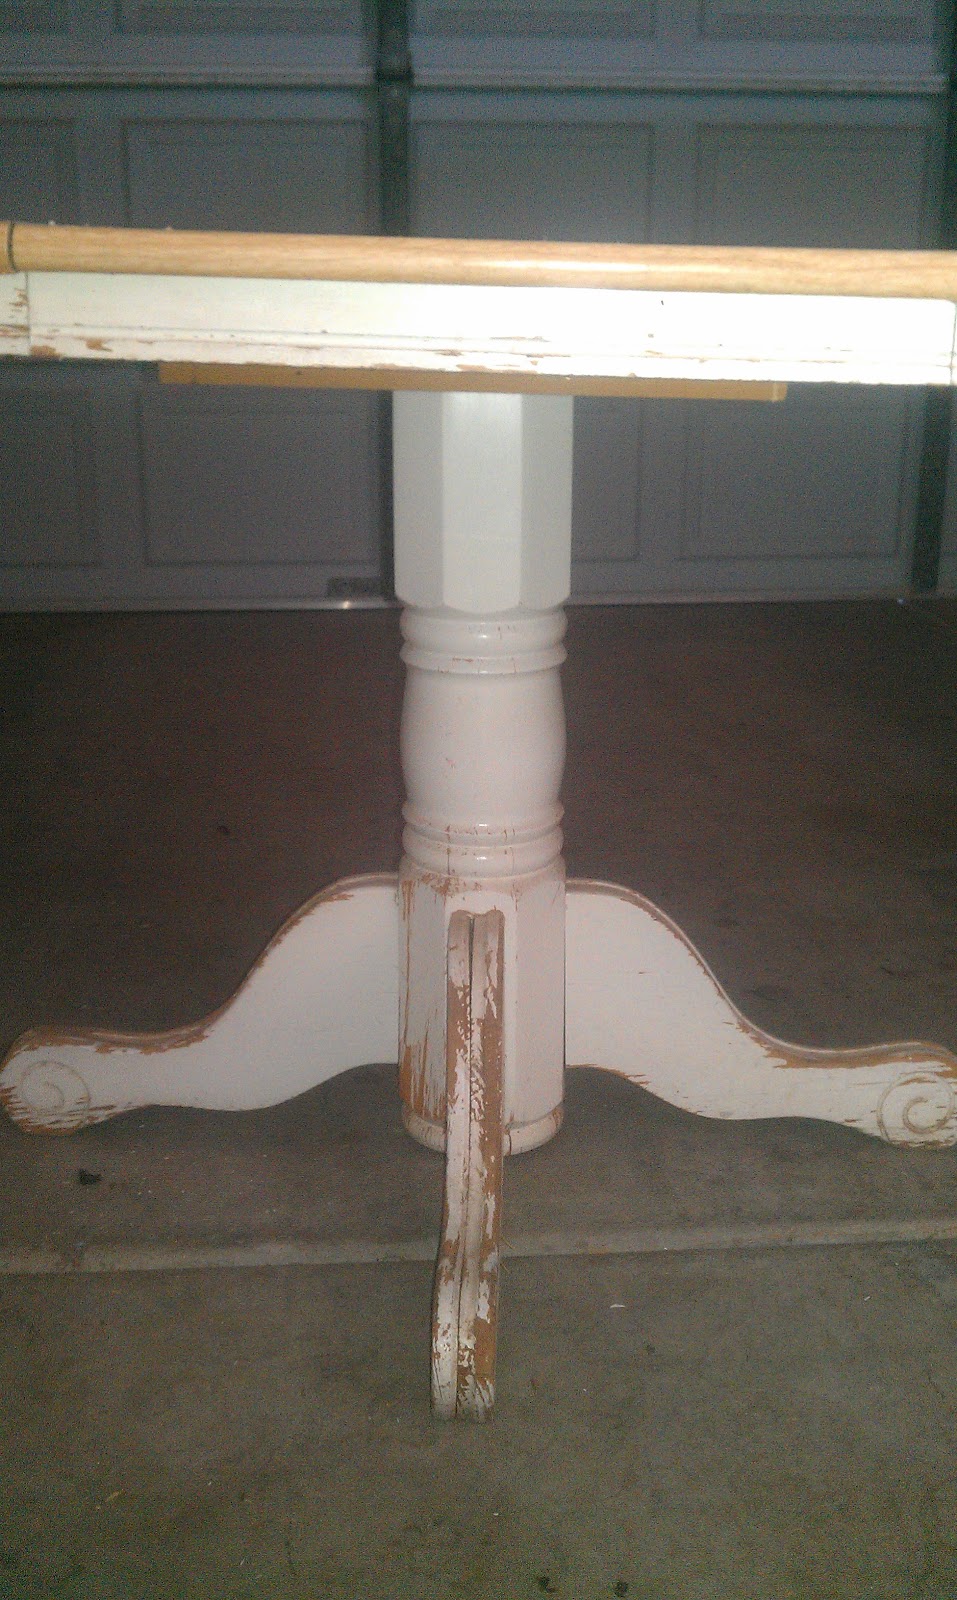
I found this kitchen table set with 3 chairs. What I love most about it is the pedestal of the table.


It is in pretty bad shape but the transformation is going along.


As you can see, I've got my hands full with new projects, but it feels good to get back in the garage. I'm hoping to finish these quickly, as the heat is taking the weekend off and giving us some nice weather.

Stay tuned for the finished transformations. Here's a hint: I'm going with bold color on one of them! Can't wait to show you.

Have a great weekend!! What are you doing with the 3-day weekend?

Sunday, March 25, 2012

Reveal: Vintage Vanity from trash to treasure!

I am so excited to reveal a mega-transformation of the vintage vanity!

Quick recap: I picked it up from someone's curb -- in the bulk trash pile!! It was in bad, bad shape, but I saw the potential of beauty. After all, it was in pretty good structural condition.


My husband, Joseph, wasn't convinced at first. He told me to give it a good look once we got it home, to make sure we didn't need to put it right back in our bulk trash pile!

But after a little sanding... and taking off a lot of veneer, it was a blank slate.


I started by adding a little wood decor to the top drawer, since once I peeled off the old veneer there wasn't much detail left.


And then it was time to put some color on this bad boy!  I primed it with KILZ spray paint primer - super easy. Great coverage and fast-drying.  

Then, I had a tough time picking out a color -- I mean, do you know how many shades of white there are?  So I searched some of favorite blogs and went with the advice from a furniture project from Before Meets After. I went with Glidden's Muslin White. I found this blog on Pinterest and love it - a lot of great furniture transformed into treasures! 

So back to the vanity. Once it was painted white it looked amazing! Totally transformed!


But it still needed more work.

The top was bowed from previous water damage. It was worse on the left side.


I really didn't want to replace the top - I just didn't want to start tearing this piece apart.  So I tried some wood glue and I needed some muscle. I grabbed a 55 pound weight to help hold it down.


Now, for the fun part! Ok, it's all been fun, but I was really excited about the glaze.  I debated between using a metallic silver glaze or a black antique glaze. I went with the silver and loved it!

Before the glaze
After some glazing


This piece has come such a long way. Here's a look at the stages of the drawer:


You noticed, one of the drawers is missing. It was a perfect opening for a basket to give it some more color and style.


I bought 5 baskets before I found one that fit! Thanks, Target!

But I did need need to do something to cover two pieces of metal that would have held the drawer in place.


So I got some help from my husband to put a board on the bottom that would serve two purposes: cover the metal and raise the basket a little bit to make it fit better.


Once he cut the board, he used the table saw to cut a ridge that fit nicely over the metal pieces.


 Then we glued it in place and voila!  A cute little basket fits right in place.


So here's what the final product looks like!


Before & After

I just love how the silver glaze accents the details ever so slightly.


This has been my favorite project yet! And the clue I found inside makes me think it's at least 50 years old.